

The full journey
Here’s every step from nothing to production: Agent and application setup can happen in parallel once your workspace is publishing cleanly. Organizations and users come last — they’re what gates live access.Step 1: Create your project
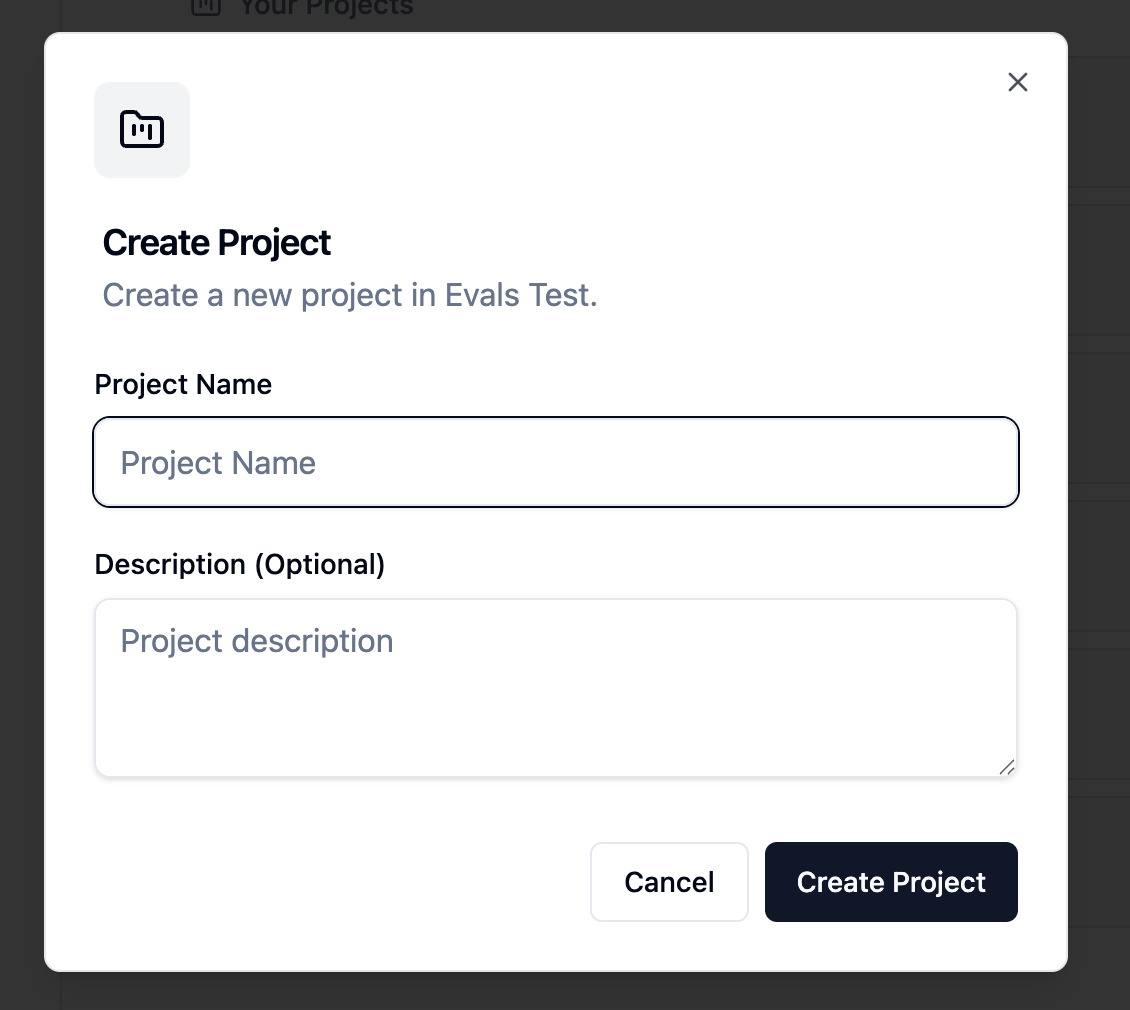
A project is the container for everything: your connections, workspaces, and the organizations and users who will access them.- Go to the Projects section
- Click Create Project
- Enter a name (e.g., “Customer Analytics”)
- Click Create
Step 2: Add a connection
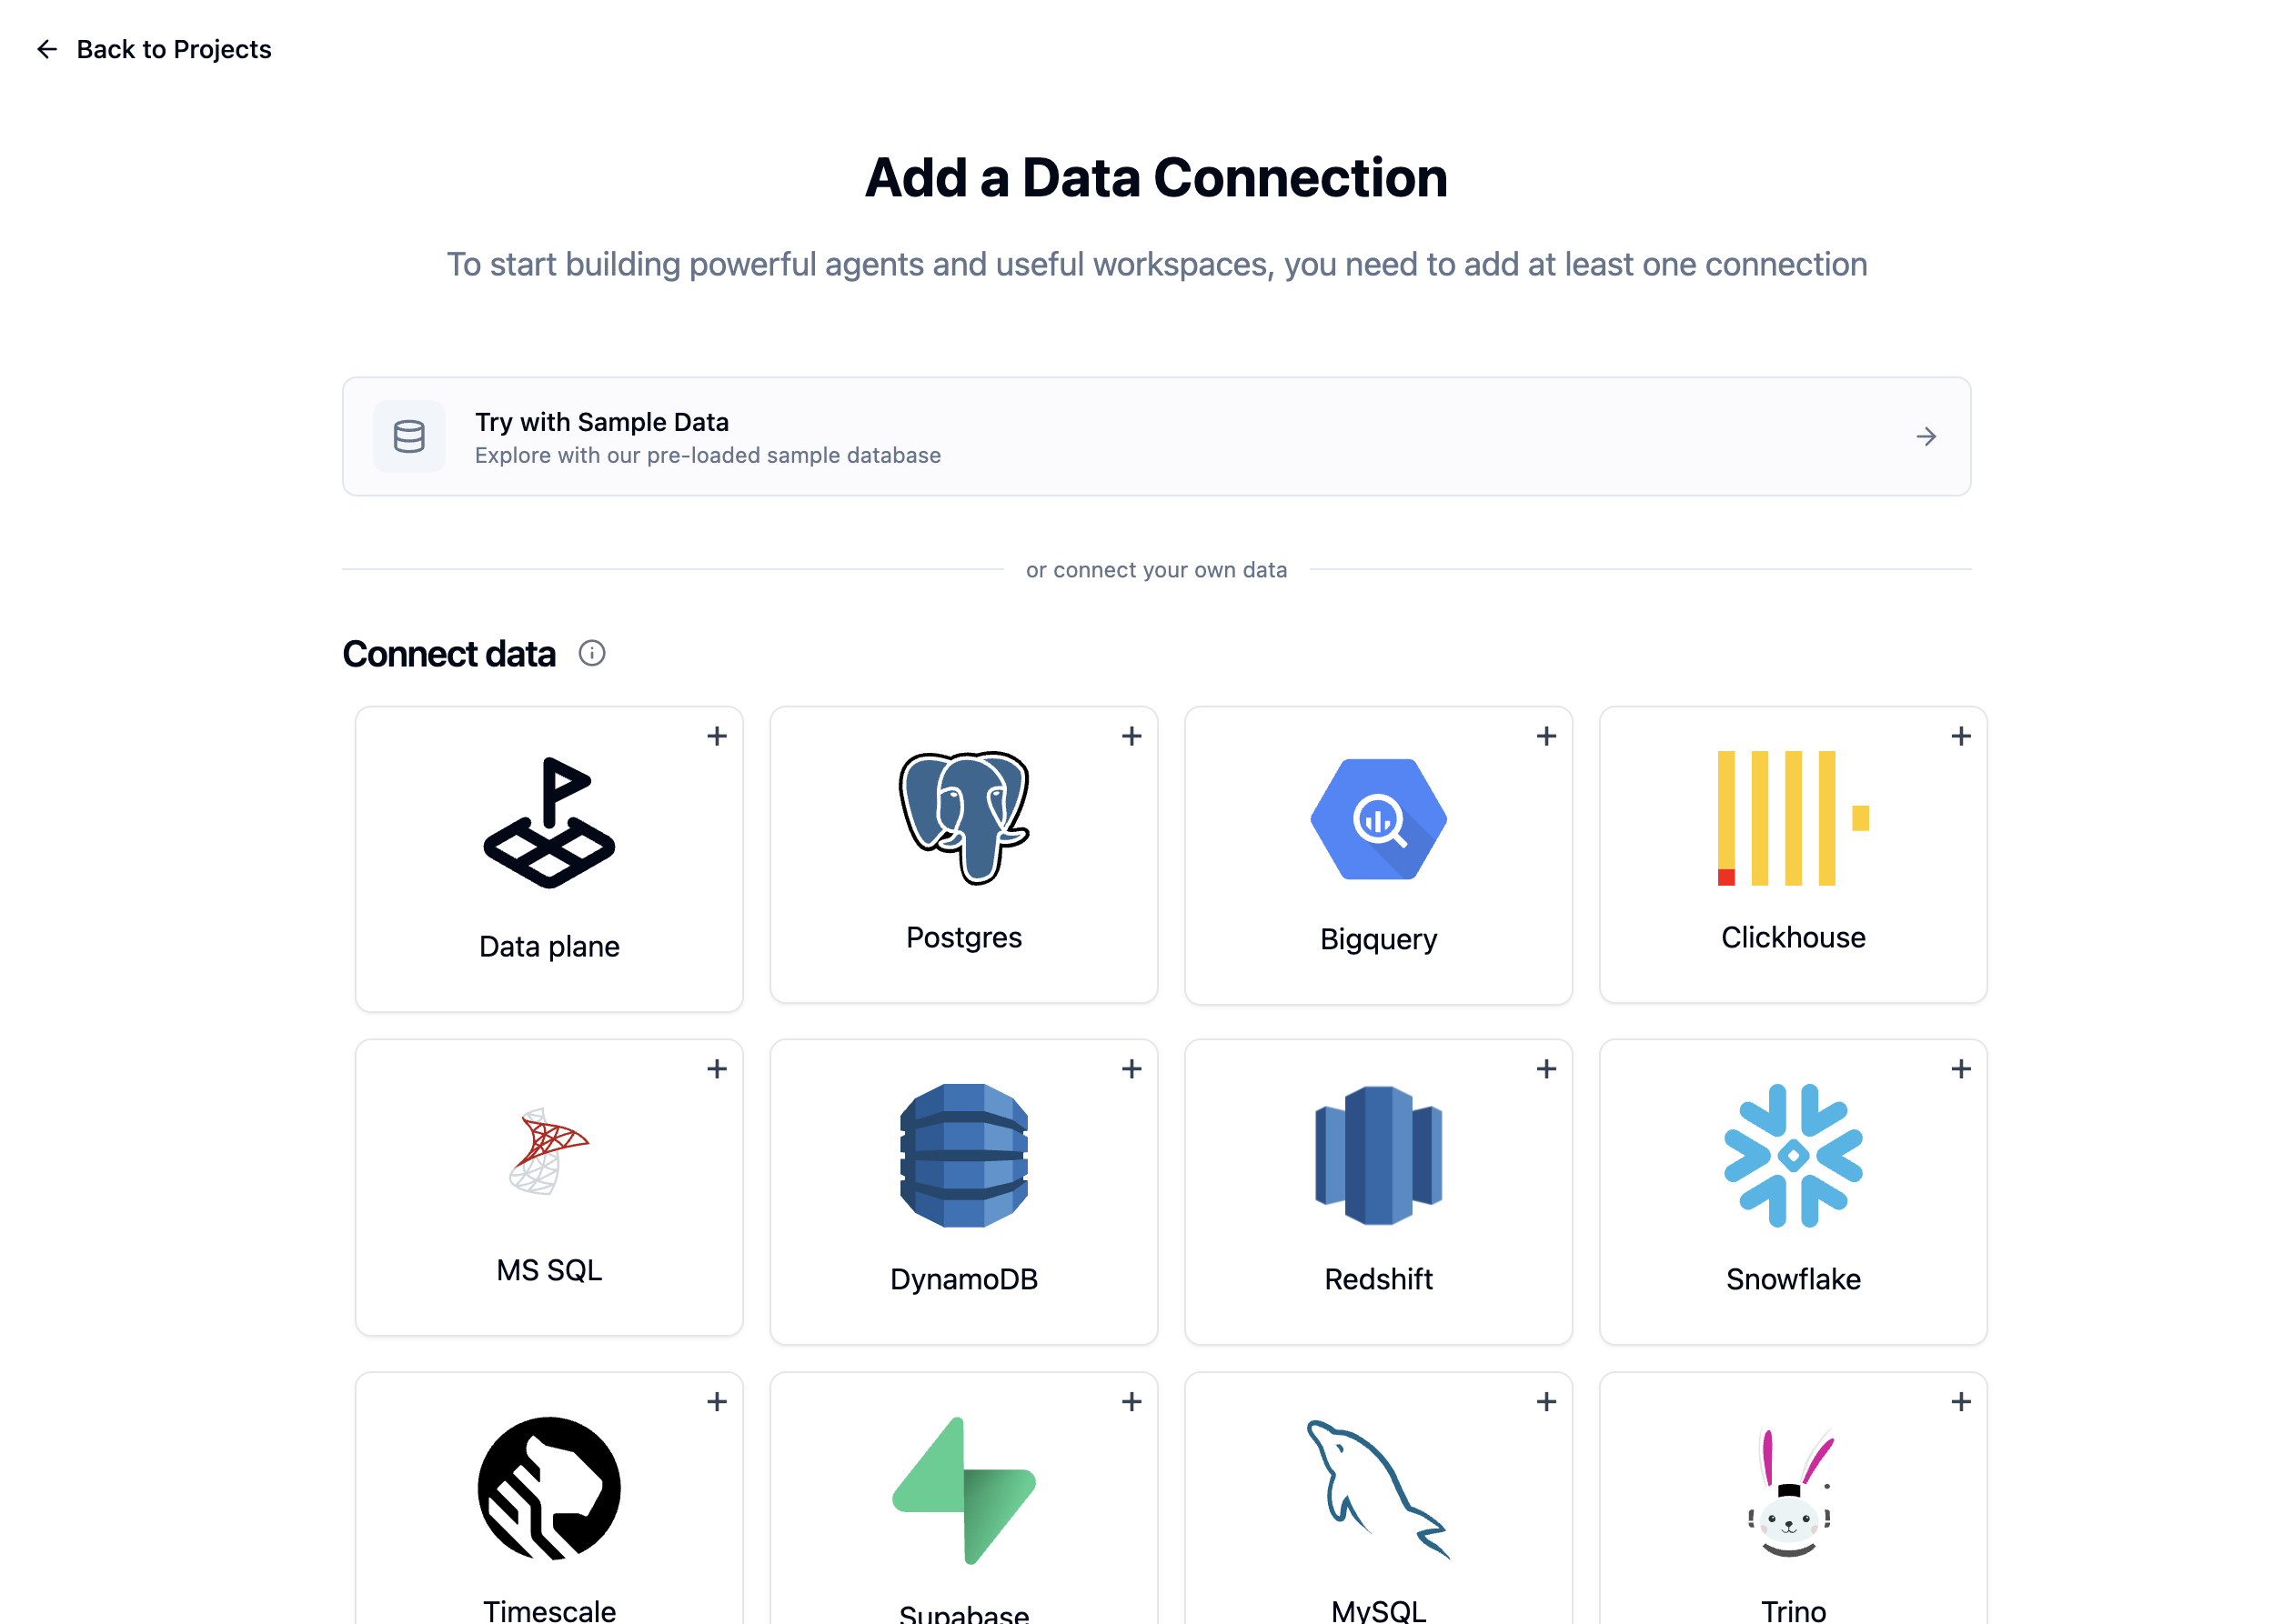
Connections link your project to a database. Every workspace in the project is created over one.- Open Project settings → Connections in your new project and select your data source from the Connect data cards
- Choose Try Demo Data to explore with sample data, or connect your real database
- For real databases, select your database type, enter credentials, and test the connection
- Click Save
Step 3: Create your workspace
A workspace is one data model and one agent, versioned and published together. Creating it introspects the connection so the schema is ready to curate.- On your project page, click New workspace
- Enter a name and select your connection
- Click Create workspace

A workspace’s connection is required and cannot be added later — the workspace’s schema is read from it.
- Select tables — Uncheck tables that aren’t relevant to this agent’s use case
- Select columns — Uncheck sensitive or irrelevant columns within each table
- Add descriptions — Annotate tables and columns with plain-English context so the agent understands what the data means, not just what it’s named
- Mark selectables — Flag categorical columns (region, status, owner) so the agent can enumerate valid filter values at query time

Configure data security
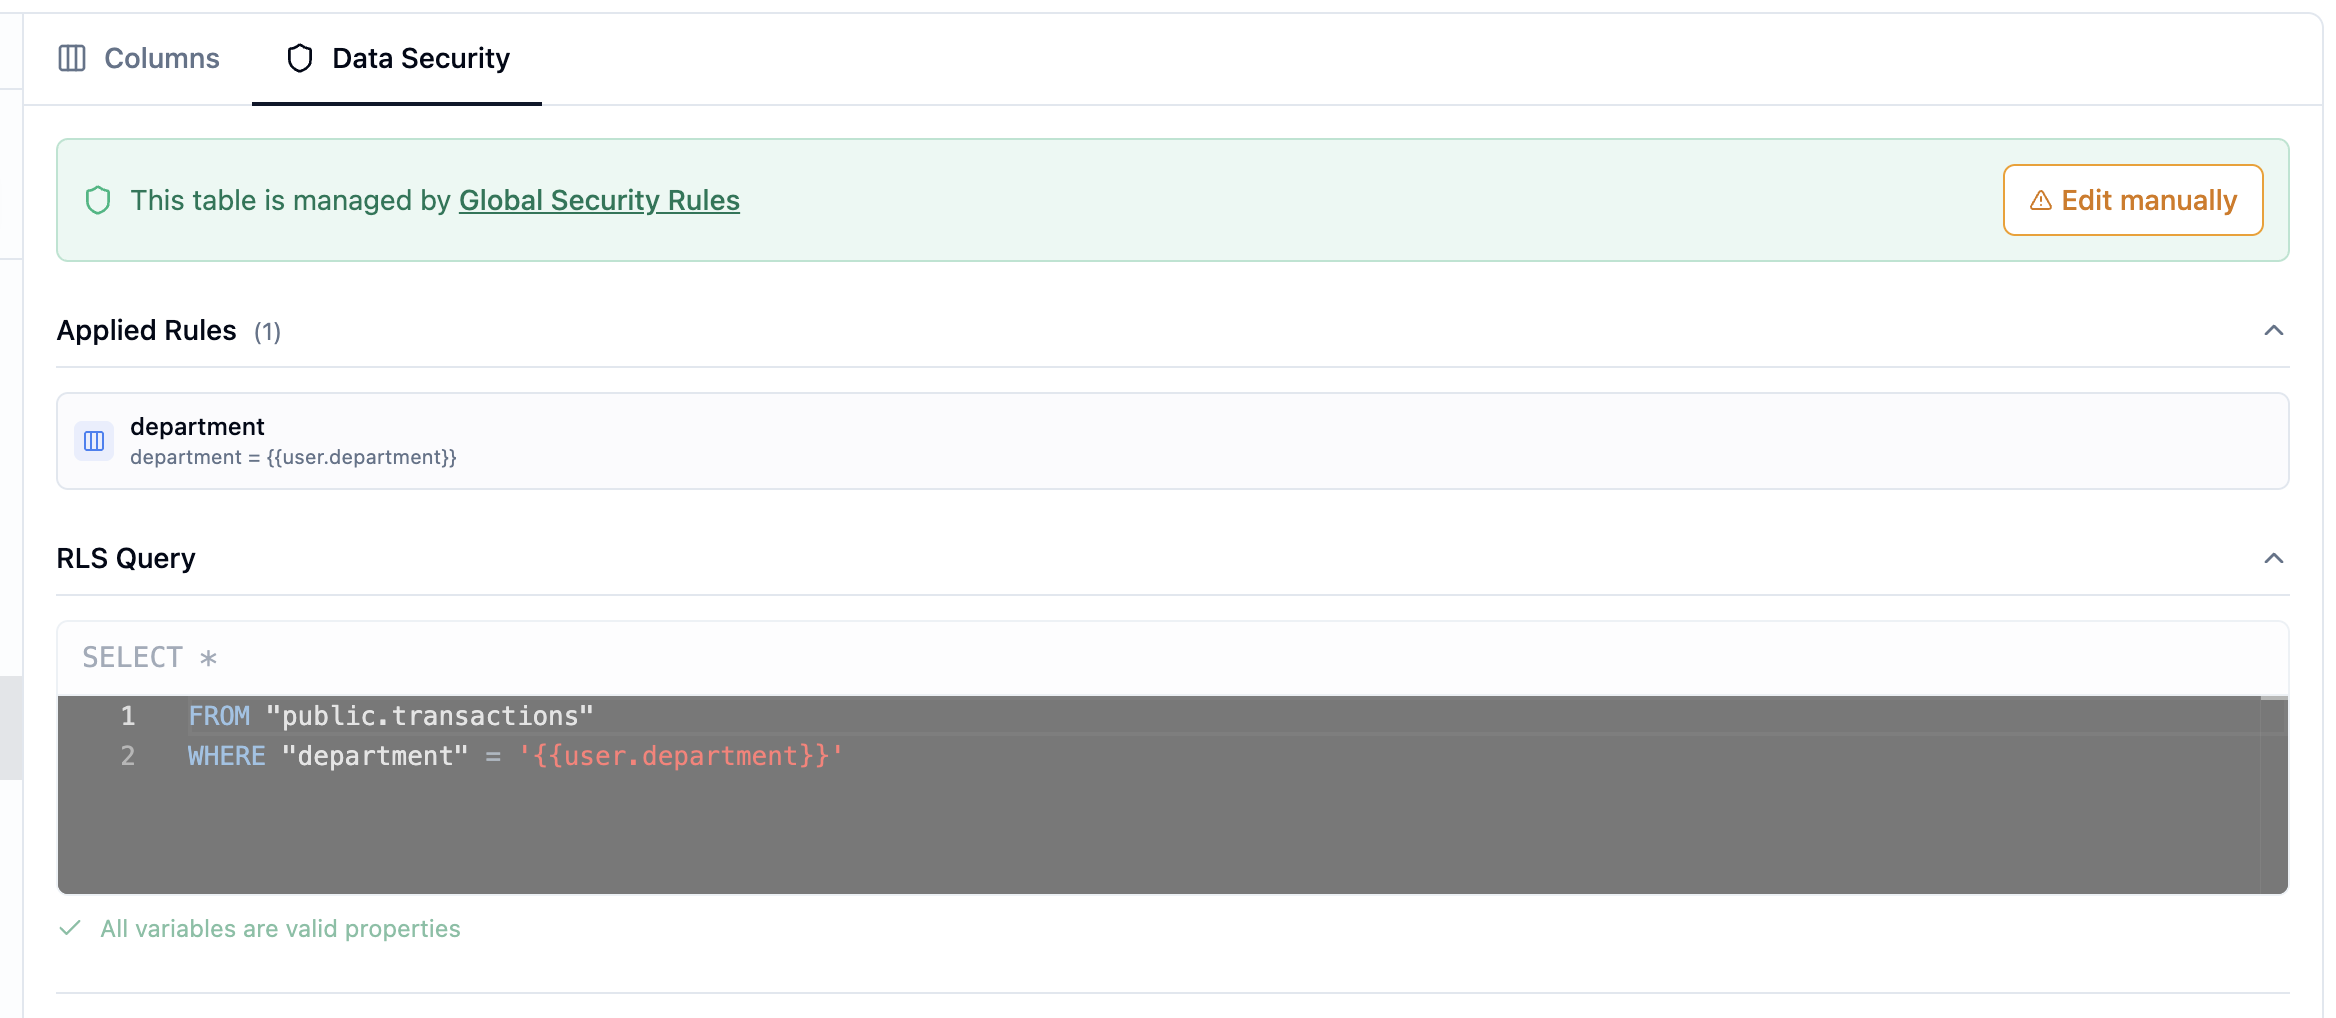
If you’re building for multiple customers or need to restrict what data each user sees, configure row-level security rules on your tables now.- On the Data Model page, click on a table
- Go to its Data Security tab
- Write a filter rule using
{{organization.*}}or{{user.*}}placeholders: - Changes autosave to the workspace draft
Step 4: Encode your context
This is the core work that determines agent quality. Work through the workspace’s context pages — start with the two essentials, then layer on the rest as needed: System Prompts — Write the business rules, KPI definitions, and behavioral guardrails the agent should always follow. See System Prompts. Assets — Add 10–20 examples covering your highest-frequency question patterns. Golden Queries pair a natural language question with the correct SQL; Golden Charts go further and include a chart configuration too. The agent retrieves these as reference when answering similar questions. See Golden Assets. Beyond those essentials, the workspace offers more context pages you can adopt as your agent matures:- Skills — reusable procedures and conventions the agent loads on demand (Beta)
- Knowledge Base — markdown reference documents (definitions, policies, caveats) searched at chat time
- Memory — per-end-user preference recording, applied automatically in future conversations (Beta)
- MCP as Context Source — live context from external tools and systems
Step 5: Test in the Playground
Before shipping, chat with the agent in the workspace’s Playground as one of your project users:- Pick a user with the Chatting as picker — the conversation runs under that user’s security rules
- Ask your most common questions and check the SQL and charts
- Open the Observability panel on a few responses to confirm the logic is correct

Step 6: Publish and go to production
The workspace version bar sits above every page:- Review the draft — changes autosave as you work
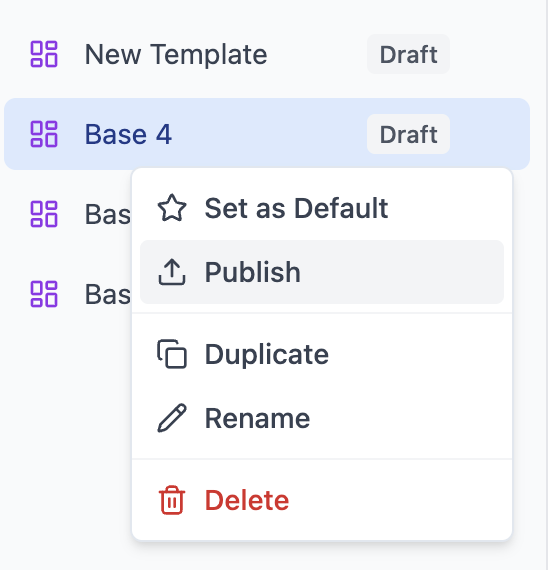
- Click Publish to stage a new workspace version
- Promote it to production — deployed users and embeds are served the production version

Step 7: Create an application
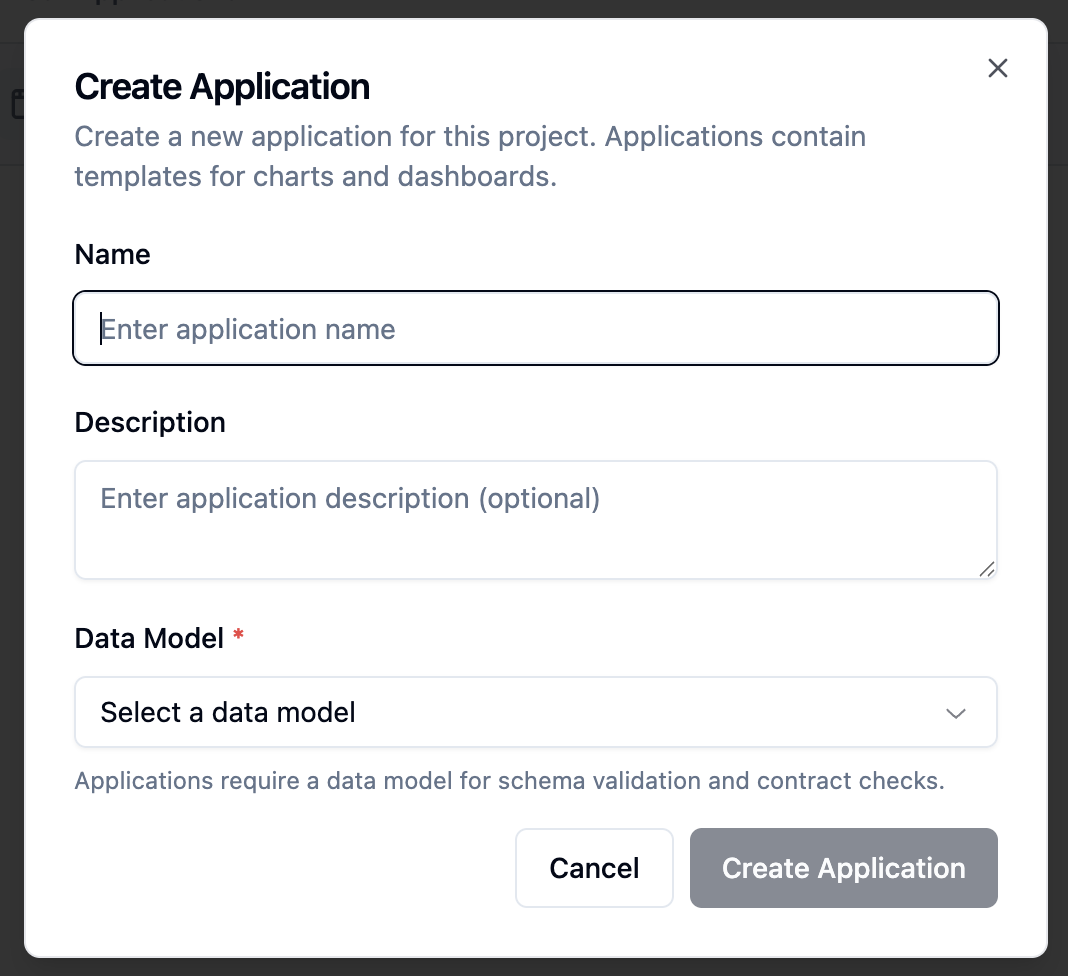
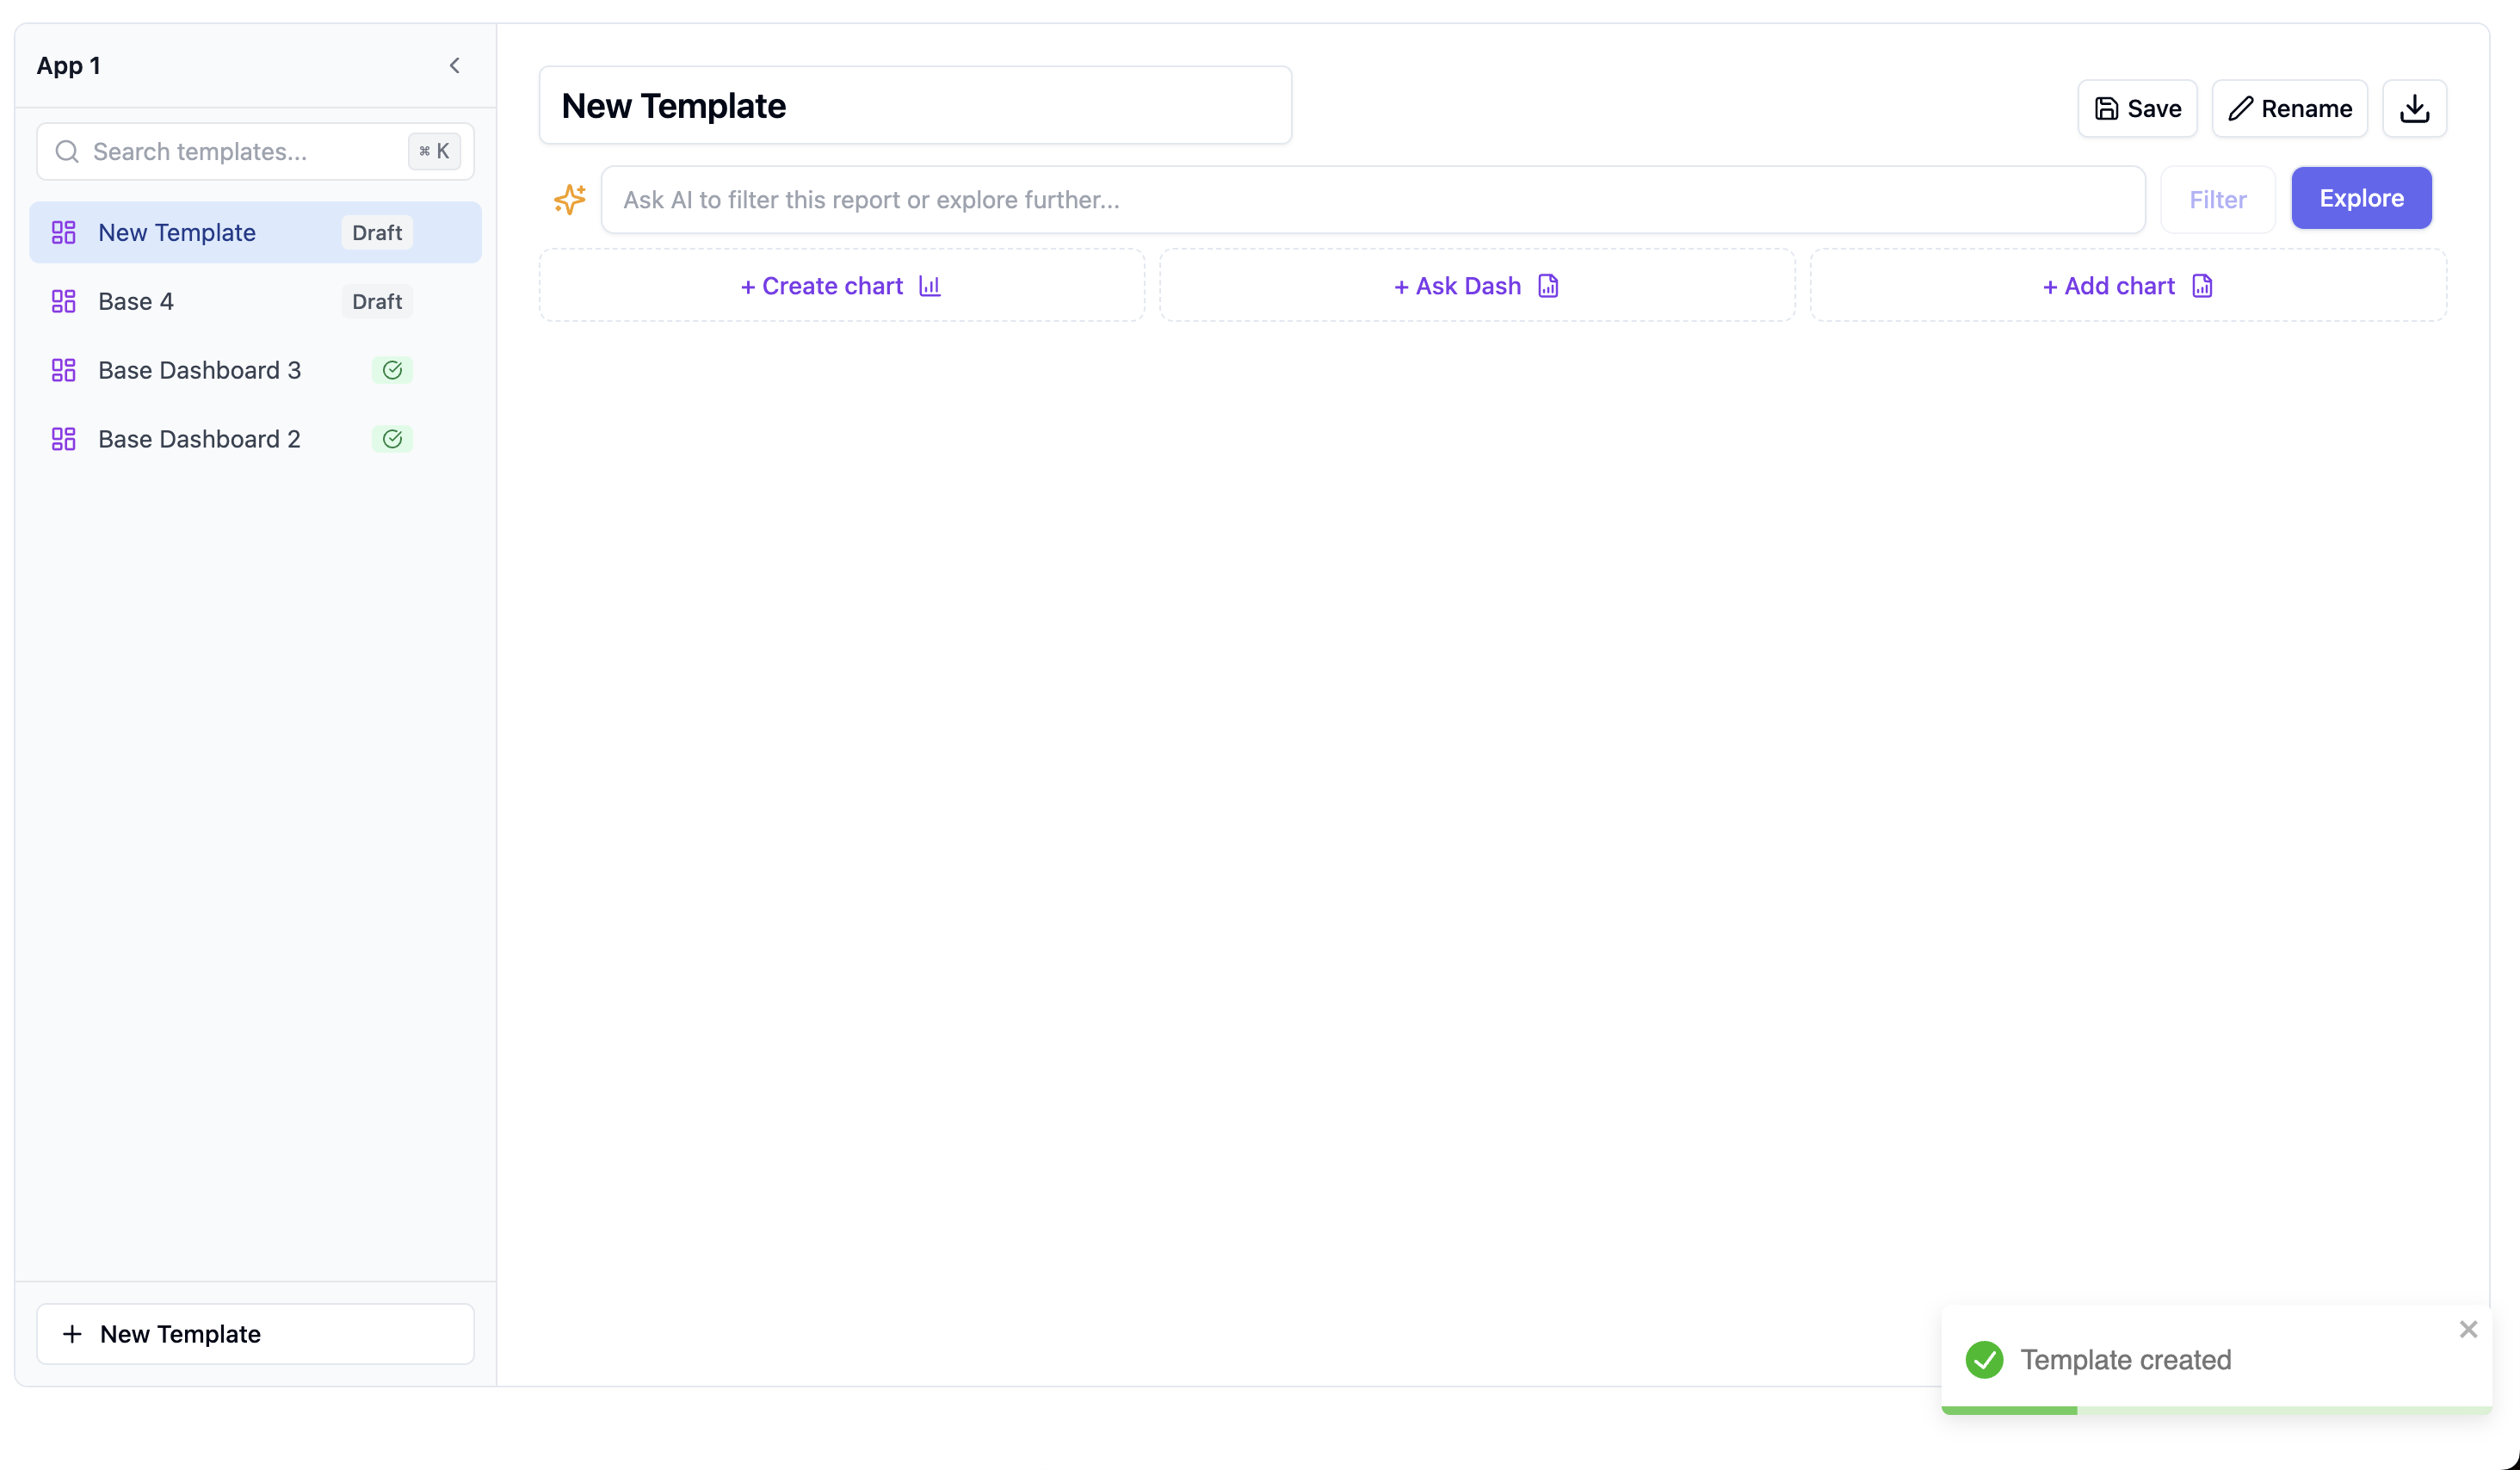
Applications hold the dashboard side of your product — templates your customers get private copies of.- Go to the Applications section
- Click Create Application
- Enter a name and select the workspace’s data model
- Click Create
- Click Add Dashboard in your application
- Name it and add charts by clicking Add Chart
- Configure each chart with your data and arrange the layout
- Click Save
Step 8: Sign your users in
Your customers become project organizations and their people project users, carrying the properties your security rules read. You don’t register them ahead of time: your backend makes one call per sign-in,POST /v1/api/projects/embed-token, which creates the organization and the user the first time, keeps their properties current after that, and returns the token your iframe needs.
You’re done!
Users can now:- Chat with the workspace’s agent using natural language
- View dashboards with their filtered data
- Create their own charts and dashboards in their space
Setup checklist
Next steps
Encode Your Context
Deep dive into all context entry points: data model, system prompts, Assets, skills, knowledge base, memory, and MCP.
Deploy & Expose
Embed the workspace in your product: one API key, one backend call, one iframe.